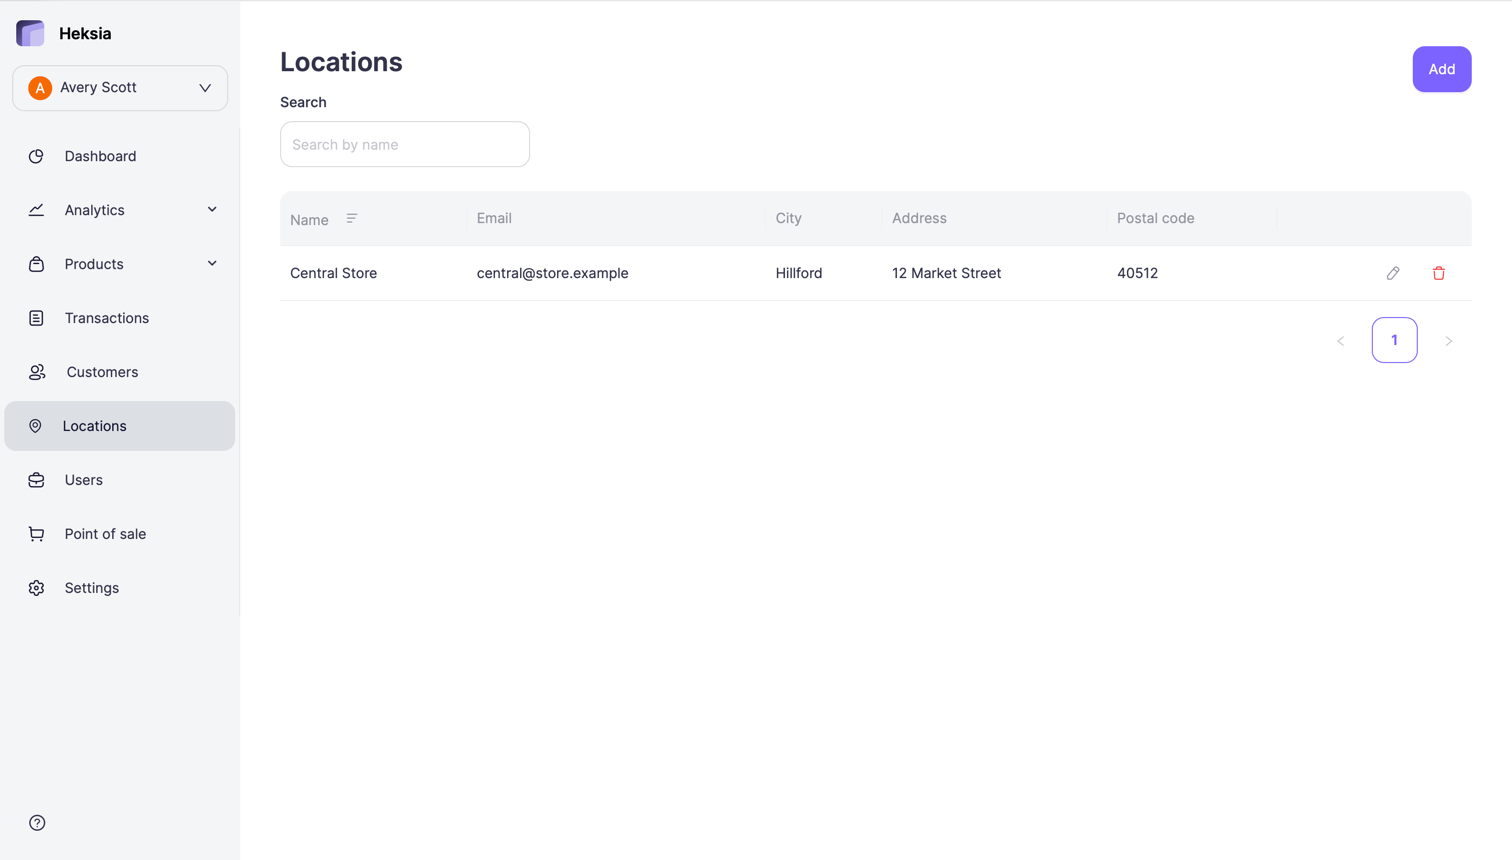
Locations
You can manage all your business locations directly in the Back Office.
Each location has its own address and details, and can be selected in the Heksia POS App when recording sales.
To access your locations:
- Open the Back Office
- In the left menu, select Locations
Adding a New Location
- Click the Add button in the top-right corner
- Fill in the location details:
- Name — the name of your store or business location
- Address — full street address
- City — the city where the location operates
- Postal code — ZIP or postal code
- Email (optional) — contact email for this location
- Phone (optional) — phone number for the location
- Click Save
The new location will appear in your list and will be available in the POS app.
Editing a Location
- Go to Locations
- Find the location you want to update
- Click the Edit icon
- Update any of the available fields:
- Name
- Address
- City
- Postal code
- Email (optional)
- Phone (optional)
- Click Save
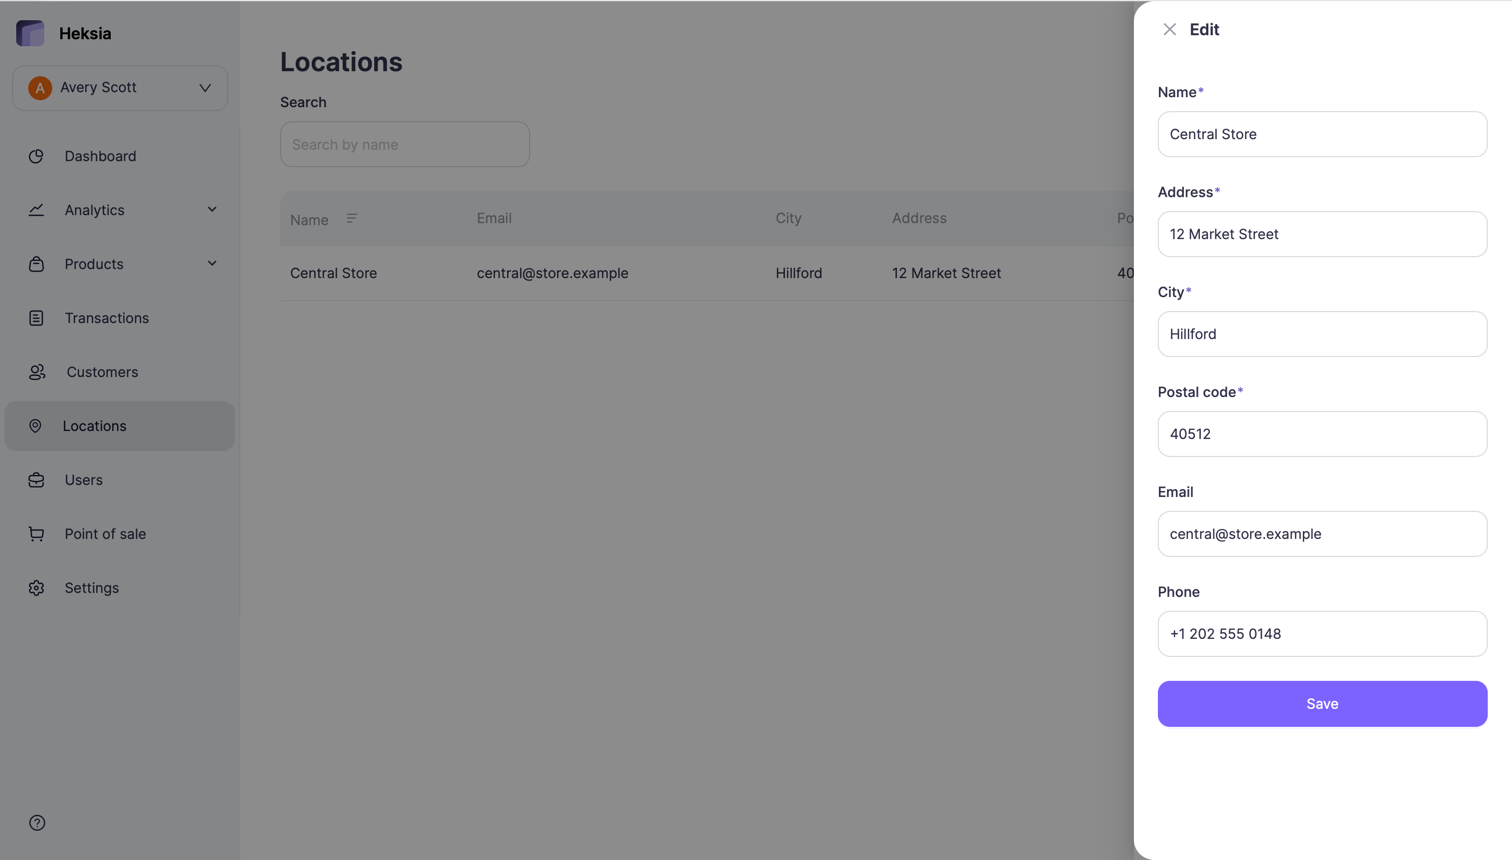
Updates take effect immediately and will be reflected in the POS app.
Removing a Location
- Open Locations
- Click the Delete icon next to the location
- Confirm deletion
A location can be removed only if it has no related data (such as products).
Using Locations in Heksia POS
When working in the POS app, you must select the location during login.
All new receipts and sales will be linked to the location you choose at that moment.
To switch to another location, the administrator needs to log out of the POS app and log in again, selecting the desired location.